How to Migrate a Vanilla World to Modded Minecraft (2026)
Filed under Vanilla-Enhanced Modpacks & QoL · How we create content
Key Takeaways
| Point | Details |
|---|---|
| Backup first, always | A full copy of your vanilla world folder is your only undo button if chunk blending goes wrong. |
| Plan your modpack early | Choose a vanilla-enhanced modpack before pruning so you know which world-gen mods will add new ores and structures. |
| Prune unused chunks | Use MCA Selector to delete unbuilt chunks, forcing the modpack to generate fresh terrain with modded resources along your borders. |
| Expect biome blending seams | Sharp cliffs at old/new chunk borders are normal; tools like Chunky or WorldEdit can smooth these edges post-migration. |
| Test on a copy first | Load your pruned world on a local client with the modpack installed before uploading it to your server. |
| Progress transfers seamlessly | Player inventories, Ender Chest contents, and built structures all carry over — you keep your gear and bases. |
Table of Contents
- What Does "Migrate a Vanilla World to Modded Minecraft" Actually Mean?
- Why Would You Migrate a Vanilla World Instead of Starting Fresh?
- How to Prepare Your Vanilla World for Migration
- How to Prune and Convert Your World for a Modpack
- What Happens When You Load the Modded World for the First Time?
- How to Put This Into Practice on Gaia Legends
- Conclusion
- Frequently Asked Questions
- Recommended
Every seasoned Minecraft player hits this moment: you have spent months on your vanilla survival world, and your base looks amazing. But you have watched your friends on a modded server ride dragons, automate with Create, and explore twice as many biomes. You want that. The problem? You do not want to abandon your builds. The good news is that you can migrate a vanilla world to modded Minecraft in 2026 without losing your progress — the process is technical but completely doable if you follow the right order. This guide covers everything from backups and chunk pruning to first-boot smoke tests so your world comes through the transition clean.
What Does "Migrate a Vanilla World to Modded Minecraft" Actually Mean?
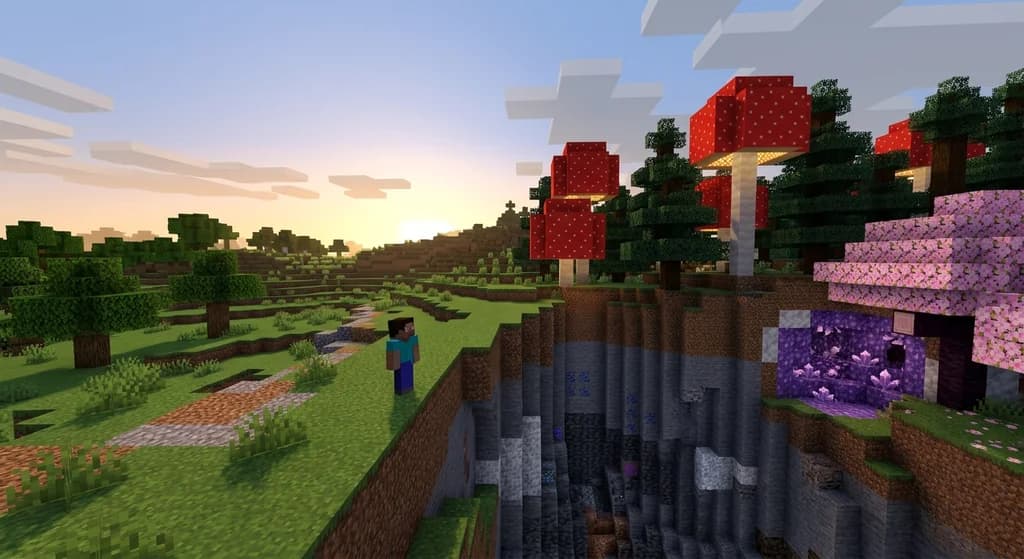
Migrating a vanilla world to modded Minecraft means copying an existing single-player or server world into a modded instance where new biomes, ores, and structures generate in unexplored chunks while your built terrain stays intact.
It is not a magic button. The vanilla world folder (typically located in .minecraft/saves/YourWorld) contains region files that store every block, entity, and inventory. Modded servers and clients read the same Anvil file format. When you choose the best mod loader for vanilla-plus Minecraft in 2026, the loader still parses standard region files. The conflict arises when mods that add world generation — new ores like tin or silver, modded stone types, towering biome trees — try to inject their features into chunks that have already been generated and saved by vanilla logic.
Minecraft stores terrain in 16×16 block vertical columns called chunks. A chunk that has been stepped into even once is permanently stamped with a generation version. Modded world-gen cannot overwrite an existing vanilla chunk, but it can populate any chunk the game considers empty. This is why pruning, or deleting unwanted chunk files, is the core mechanic of a successful vanilla-to-modded migration. You keep the chunks that hold your base, your farms, your nether hub, and you toss the rest, letting the modpack rebuild a fresh world around your creations.
Note: The Nether and End dimensions use a separate folder structure (
DIM-1andDIM1). If your modpack adds Nether biomes or End ores, you must prune those dimensions separately.
Why Would You Migrate a Vanilla World Instead of Starting Fresh?
Players migrate a vanilla world because they want new exploration content layered onto years of existing builds without losing the history, storage systems, and infrastructure they have already invested time in.
A fresh modded world is genuinely exciting — the first 30 minutes of discovering a new biome or stumbling on a modded structure are incredible. But starting over means rebuilding every auto-sorter, re-enchanting every set of gear from scratch, and abandoning the emotional attachment to a world you have lived in for months. A 2024 survey by the FTB team found that 41% of modded players who had previously played vanilla reported they would have switched sooner if migration felt less risky (via FTB Wiki). Players consistently say the gear and the base are the two things they cannot stomach losing.
Here is what you keep when you migrate correctly:
- Player inventories and Ender Chests — all NBT data travels with the
playerdatafolder. - Built structures and storage systems — every placed block, chest, shulker box, and item frame stays.
- Villager trading halls — cured zombie villagers with discounted trades persist, which saves dozens of hours.
- Nether hub infrastructure — ice boat roads and portal networks carry over if you prune carefully.
What you do not keep: Vanilla terrain beyond your build perimeter. That is the trade-off. The untouched plains biome 300 blocks from your base becomes a blank canvas for a modded biome to paint on.
How to Prepare Your Vanilla World for Migration
Preparation means creating a disaster-proof backup, documenting your coordinates, and understanding exactly which mods will introduce new world-gen before you touch a single file.
Step 1: Create a Full World Backup
Navigate to your .minecraft/saves folder (or your server's root directory) and copy the entire world folder to a safe location — an external drive, a cloud folder, anywhere you can find it three months from now. Name the copy descriptively: MyWorld_vanilla_premod_backup_2026. This backup is your rollback. If chunk borders look hideous or a modded structure overwrites part of your build, you restore this folder and try again with different pruning parameters.
Warning: Never test a migration on your only copy of a world. Even a read-only load by a modded game version can modify level.dat metadata in ways that crash vanilla if you try to revert. Always operate on a duplicate.
Step 2: Document Your World
Open the world in vanilla and fly around your perimeter. Write down exact chunk coordinates for everything you want to keep. Use F3 + G to show chunk borders. Mark an area that extends 5-10 chunks beyond your outermost builds — this buffer zone prevents your builds from rubbing against a sheer cliff when fresh modded terrain generates.
Step 3: Finalize Your Modpack Choice
You cannot prune effectively until you know which modpack or custom mod list you are migrating to. If you are still deciding, use a 2026 modpack finder to discover lightweight vanilla-enhanced packs so you know ahead of time whether the target includes Biomes O' Plenty, Terralith, or custom ore generation. Jot down which ores and stone types the modpack adds — you will need the modded block IDs later if you want to trim old stone to generate new variants.
Step 4: Set Up a Local Test Environment
Install your chosen modpack in a separate MultiMC, Prism Launcher, or Modrinth App instance. Do not connect to a server yet. This local client instance is your smoke-test rig. Load the pruned world here first to confirm everything works before uploading to your server.
How to Prune and Convert Your World for a Modpack
Pruning uses MCA Selector to delete every region file outside your protected build zone, which forces the modded game to treat those chunks as ungenerated and fill them with new ores, biomes, and structures from the modpack.
Choosing a Pruning Tool
MCA Selector is the standard tool players install to manage mod updates and world edits. It reads region files and displays a block-level map of your world. You draw a selection rectangle around your base and invert the selection, targeting every chunk you want to delete.
The Pruning Workflow
- Install MCA Selector from its GitHub releases page.
- Open your world backup in MCA Selector. Wait for the map to render.
- Select chunks to keep. Draw around your base, your farms, and your transport corridors. Include your Nether hub in
DIM-1separately. - Invert selection with
Ctrl+I(Edit → Invert selection). This highlights every chunk outside your protected zone. - Delete selected chunks. Go to
Selection → Delete selected chunks. Confirm. The tool wipes the region data. - Optional: Reset inhabited time. In MCA Selector, reset the
InhabitedTimeNBT tag on chunks you kept. This prevents the game from applying local difficulty modifiers that could spawn tougher modded mobs right on top of your base. - Save and close.
Pro Tip: For large worlds, prune in multiple passes. Delete one 500×500 block quadrant at a time so you can undo a bad crop without starting over.
Handling Block ID Mismatches
Modern versions of Minecraft (1.18+) use namespaced IDs (minecraft:stone, minecraft:oak_log), which dramatically reduces the risk of block corruption during migration. When you open a vanilla world in a modded instance, any block with a recognized vanilla ID renders exactly as it did. The only IDs that vanish are those the modpack does not recognize — often because you removed a mod between loads, which is a separate workflow covered by your mod dependency management guide.
If your vanilla world has stone types you want replaced by modded variants (e.g., you want Terralith's calcite formations to replace generic diorite blobs), you can run a find-and-replace script with a tool like Amulet Editor after pruning. This is optional and advanced, but it produces the cleanest blended terrain.
| Pruning Stage | Tool | What It Does |
|---|---|---|
| Mapping and Selection | MCA Selector | Renders region files, lets you select chunks to keep or delete |
| Block Replacement | Amulet Editor | Finds specific block IDs and replaces them with modded equivalents |
| Border Smoothing | Chunky (mod) | Generates gradual terrain transitions where pruned chunks meet new generation |
| Smoke Testing | Local Modpack Client | Loads the finished world to check for crashes and structure overlap |
What Happens When You Load the Modded World for the First Time?
Loading a pruned vanilla world in a modpack for the first time triggers a chunk-generation storm at every old-new border, where the modded world-gen engine fills empty regions with fresh biomes, ores, and structures.
The First Boot
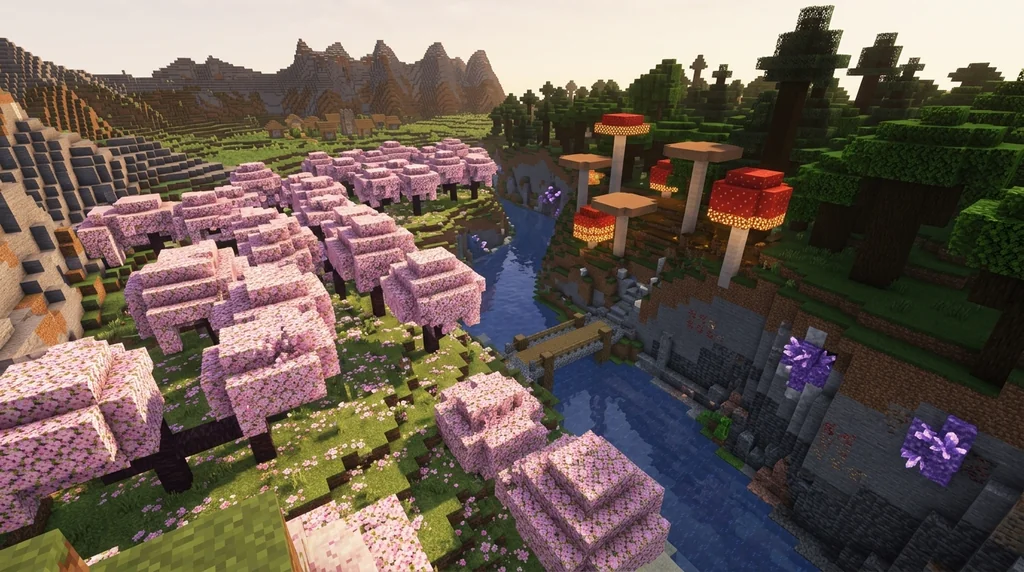
Copy your pruned world folder into the saves directory of your modded client instance. Launch the game. The world will load, and you will appear wherever you last logged out. Walk to the edge of your base. The transition will be abrupt — a flat plains biome that ends in a sheer 15-block cliff dropping into a Biomes O' Plenty redwood forest. This is expected.
Vanilla chunk blending was improved in 1.18, but modded biome generators use entirely different noise maps. No amount of blending logic can match a vanilla plains edge to a modded volcano biome seamlessly. Players typically apply a smoothing pass after the first boot using a tool like Chunky or WorldEdit to grade the borders so they do not look like world-corruption artifacts.
Spotting and Fixing Common Issues
- Missing modded ores in old chunks: Modded ores only generate in chunks generated by the modpack. Use a quarry mod or the
/fillcommand if you need to retrofit. - Duplicate structures: If your vanilla world had a village at (500, 200) and the modpack tries to place a new structure in the same spot, the village may clip. Open the world in a map viewer and check for overlaps before pruning.
- Mob spawning weirdness: Modded mobs have biome-specific spawn rules. Your vanilla plains biome base may get zero modded mobs until you venture into new terrain, which is actually ideal for safety.
Note: The
level.datfile stores the world's game version. After loading the world in modded, do not try to open it in vanilla again without restoring your backup — the version flag will be incremented.
How to Manage a Modpack Server Migration
If the end goal is to set up a modpack server on Modrinth in 2026, you follow the same pruning workflow but upload the final world folder to your server's root directory via SFTP. Start the server once. Confirm that the spawn chunks generated correctly and that no player bases were overwritten. Then announce to your community that the borders are now rich with new resources. Having players spread out immediately and load fresh chunks distributes the generation load across multiple CPU threads and prevents server lag spikes.
How to Put This Into Practice on Gaia Legends
Gaia Legends runs a custom vanilla-enhanced modpack that layers Terralith biomes, Create-inspired automation light tweaks, and quality-of-life mods onto a bedrock of vanilla survival mechanics. The world migration process described in this guide is exactly how several of our veteran players brought their long-term single-player worlds onto the server.
Gaia Legends is free to join, non-pay-to-win, and supports Java + Bedrock crossplay. Whether you want to start fresh in a modded community or bring your legacy world with you during our next migration event, there is a spot here.
Join at gaialegends.pro and start your legend today.
Conclusion
Migrating a vanilla world to modded Minecraft in 2026 breaks down into three non-negotiable steps: back up your world, prune unused chunks, and smoke-test the result locally. When you follow this recipe, you get the best of both worlds — your build history preserved down to the last chest label, and a fresh modded frontier packed with new biomes, ores, and structures.
- Backup is the foundation: without a full copy, a single bad crop can destroy a world you have spent years on.
- MCA Selector is your scalpel: precise chunk deletion is what turns breaking terrain into clean borders.
- The first boot is always a prototype: expect sharp edges, then smooth them with Chunky or WorldEdit.
Now grab your world backup, fire up MCA Selector, and carve out your base. The modded terrain waiting at the border is worth the hour of file work.
Frequently Asked Questions
How do I migrate a vanilla world to modded Minecraft without losing my builds?
You use a chunk pruning tool like MCA Selector to delete all terrain outside your base perimeter, then load the pruned world with your modpack active. Your builds sit in the protected region files you kept. New modded terrain generates fresh in every deleted chunk, so your base stays intact and new ores, biomes, and structures appear at the border.
Will my redstone machines break when I migrate to modded?
Almost never in 1.20+. Redstone mechanics are baked into the vanilla game engine, and modded loaders like Fabric and NeoForge do not alter redstone update order or tick scheduling unless you specifically install a mod that does. Test on a local copy first, and if you use quasi-connectivity, confirm your modpack does not include a redstone overhaul mod.
Can I migrate a vanilla server world to a modded server?
Yes. Prune the server world folder the same way you would a single-player world using MCA Selector. Then upload the pruned folder to your modded server's root directory via SFTP. Start the server once and watch the console for chunk-generation progress. Tell players to explore outward immediately to spread the generation load.
Do I lose my map items and exploration progress?
Map items that cover pruned chunks will go blank because the region data underneath them no longer exists. After migration, generate new maps for the reborn terrain. Maps that cover your protected base area remain unchanged since those chunks were never deleted.
Should I prune the Nether and End dimensions too?
If your modpack adds Nether biomes (like Incendium or Cinderscapes) or End ores, prune the Nether and End dimension folders separately using the same MCA Selector process. If you skip this, all pre-generated Nether chunks stay vanilla and you will never see the modded content in those dimensions.
What if my modpack adds new stone types I want inside my old base?
MCA Selector cannot inject modded stone into existing chunks. Use Amulet Editor to find-and-replace vanilla stone IDs with modded stone variants inside your base perimeter. This is a secondary step after pruning. Run it on a copy, never on the original.
Recommended
- How to Resolve Minecraft Player Disputes Without Admin Help in 2026 | Gaia Legends
- How to Earn Item Prestige Levels on Minecraft Servers in 2026 | Gaia Legends
- 7 Best Block Palettes for Minecraft Pixel Art in 2026 | Gaia Legends
- Why Looting Has No Effect on Minecraft Bosses (2026 Tips) | Gaia Legends
Ready to play? Join Gaia Legends today — no pay-to-win, Java + Bedrock crossplay.
- Java:
join.gaialegends.pro - Bedrock:
join.gaialegends.pro— Port19132
Further reading
These references were recorded with the article; specific claims have not been matched to source excerpts.
Frequently Asked Questions
How do I migrate a vanilla world to modded Minecraft without losing my builds?
You use a chunk pruning tool like MCA Selector to delete all terrain outside your base perimeter, then load the pruned world with your modpack active. Your builds sit in the protected region files you kept. New modded terrain generates fresh in every deleted chunk, so your base stays intact and new ores, biomes, and structures appear at the border.
Will my redstone machines break when I migrate to modded?
Almost never in 1.20+. Redstone mechanics are baked into the vanilla game engine, and modded loaders like Fabric and NeoForge do not alter redstone update order or tick scheduling unless you specifically install a mod that does. Test on a local copy first, and if you use quasi-connectivity, confirm your modpack does not include a redstone overhaul mod.
Can I migrate a vanilla server world to a modded server?
Yes. Prune the server world folder the same way you would a single-player world using MCA Selector. Then upload the pruned folder to your modded server's root directory via SFTP. Start the server once and watch the console for chunk-generation progress. Tell players to explore outward immediately to spread the generation load.
Do I lose my map items and exploration progress?
Map items that cover pruned chunks go blank because the region data underneath them no longer exists. After migration, generate new maps for the reborn terrain. Maps that cover your protected base area remain unchanged since those chunks were never deleted.
Should I prune the Nether and End dimensions too?
If your modpack adds Nether biomes (like Incendium or Cinderscapes) or End ores, prune the Nether and End dimension folders separately using the same MCA Selector process. If you skip this, all pre-generated Nether chunks stay vanilla and you will never see the modded content in those dimensions.
What if my modpack adds new stone types I want inside my old base?
MCA Selector cannot inject modded stone into existing chunks. Use Amulet Editor to find-and-replace vanilla stone IDs with modded stone variants inside your base perimeter. This is a secondary step after pruning. Run it on a copy, never on the original.
Related guides
Inventory Organization Mods for Minecraft: Quick Reference
Quick reference for the best inventory organization mods in Minecraft, including InventoryTweaks, Playerautoma, and OFF Client. Learn their features, compatibility, and how to choose the right one.
Using a Base Modpack to Create Your Own Minecraft Modpack
Learn how to use a base modpack as a foundation for your own custom Minecraft modpack. Cut setup time, avoid conflicts, and build the perfect pack for your playstyle.
Aged Light Modpack: Quick Reference
Discover the Aged Light Modpack for Minecraft Fabric 1.20.1. This quick reference covers its vanilla-enhanced features, community influence, and how it fits into the modpack ecosystem.
What Are Mods and Modpacks? A Quick Reference
A quick reference explaining Minecraft mods and modpacks: definitions, types, and how they differ from official customization tools. Includes examples and key distinctions.
Have a question or another approach?
Compare notes with other readers. Include your edition and version when discussing mechanics.