How to Brew Potions in Minecraft: Complete Beginner's Guide
Filed under Minecraft Tips & Tricks · How we create content
Version scope: Brewing basics; recipe details vary by edition and release
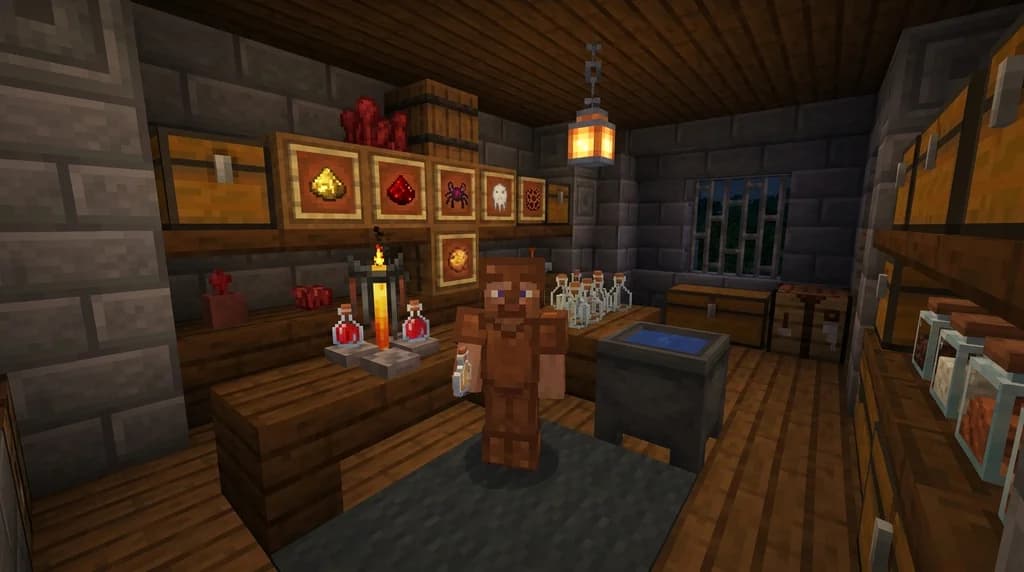
Key Takeaways
| Point | Details |
|---|---|
| Brewing requires a brewing | Brewing requires a brewing stand, blaze powder, water bottles, and ingredients. |
| Nether wart is the | Nether wart is the essential base ingredient to brew almost all potions. |
| Modifiers like redstone, glowstone, | Modifiers like redstone, glowstone, gunpowder, and fermented spider eye change duration, potency, or form. |
| Splash potions are thrown | Splash potions are thrown for area effects; lingering potions create effect clouds. |
| Edition and release | Check recipe and effect details for your edition and release. |
So you want to brew potions in Minecraft? You've come to the right place. Potions let you gain powerful temporary effects – speed, strength, fire resistance, healing, and more. This guide walks you through everything from crafting your first brewing stand to brewing advanced splash and lingering potions.
The second part was released as official release 1.0.0 on November 18, 2011, adding potions, enchantments, and the new End dimension with an entirely optional final boss.
The Brewing Stand
To brew, you first need a brewing stand. It's crafted with:
- 1 Blaze Rod (from Blazes in the Nether)
- 3 Cobblestone
Place the blaze rod in the center of the crafting grid and fill the bottom row with cobblestone. You'll get a brewing stand. Use blaze powder in its fuel slot; craft rods into powder first. One piece fuels up to 20 batches, as explained in Minecraft's blaze powder guide.
Basic Ingredients
Before you start gathering ingredients, make glass bottles using your recipe book. Fill them from a water source. Each bottle holds one potion.
Key ingredients:
- Nether Wart – the most important. Brew it with water to make an Awkward Potion, the base for almost all positive potions. Nether warts are used to make awkward potions, and are the fundamental of the base ingredients, as it is required to make the majority of potions.
- Blaze Powder – fuel for the brewing stand (crafted from blaze rods).
- Redstone – extends potion duration (but can't be combined with glowstone).
- Glowstone Dust – increases potion potency (shorter duration, but stronger effect).
- Gunpowder – turns a drinkable potion into a throwable splash potion.
- Fermented Spider Eye – corrupts a potion into its negative counterpart (e.g., Night Vision → Invisibility). The fermented spider eye is unique as it is the only modifier that can convert a water bottle directly into a usable potion.
- Dragon's Breath – turns a splash potion into a lingering potion (by collecting the dragon's breath in an empty bottle during the ender dragon fight).
The Brewing Process
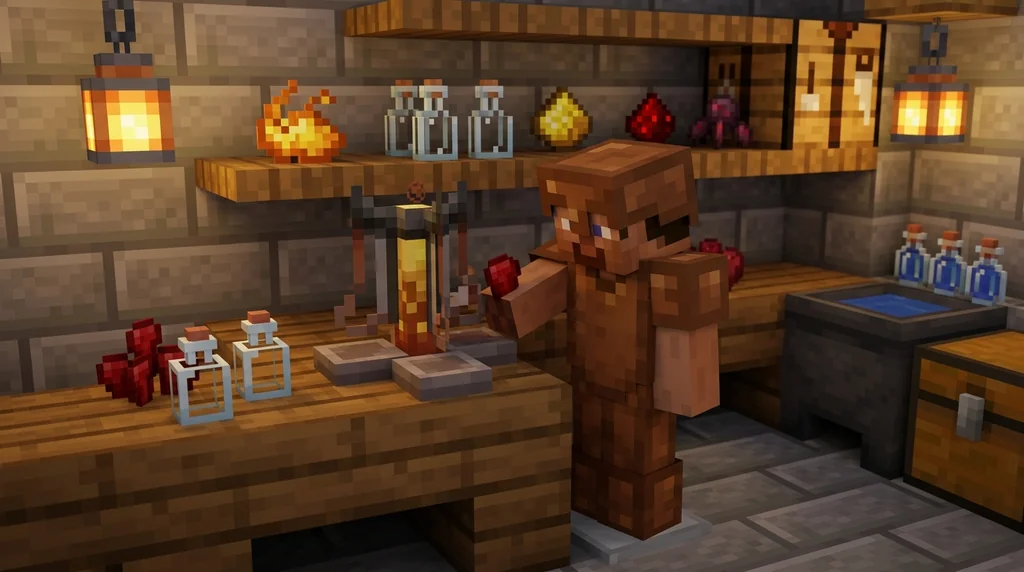
Place the brewing stand, add blaze powder to the fuel slot (top-left), then put up to three water bottles (or other potions) in the three bottom slots. In the top slot, add the ingredient. The process takes about 20 seconds.
For most of the effect potions below, start with: Water Bottle + Nether Wart → Awkward Potion. Weakness is an exception.
Then add a secondary ingredient to the Awkward Potion to get a specific effect. Finally, if desired, add a modifier (redstone, glowstone, gunpowder, etc.) in a third step.
Common Potion Recipes
Below are the most common potions. All require an Awkward Potion first unless stated otherwise.
| Potion | Ingredient | Effect |
|---|---|---|
| Potion of Fire Resistance | Magma Cream | Immunity to fire and lava for 3:00 |
| Potion of Healing | Glistering Melon | Instant health (2 hearts per tier) |
| Potion of Night Vision | Golden Carrot | See in the dark for 3:00 |
| Potion of Poison | Spider Eye | Deals damage over time for 0:45 |
| Potion of Regeneration | Ghast Tear | Restores health over time for 0:45 |
| Potion of Slow Falling | Phantom Membrane | Fall slowly and take no fall damage for 1:30 |
| Potion of Strength | Blaze Powder | Increases melee damage for 3:00 |
| Potion of Swiftness | Sugar | Increases movement speed for 3:00 |
| Potion of Water Breathing | Pufferfish | Breathe underwater for 3:00 |
| Potion of Weakness | Fermented Spider Eye | Reduces melee damage for 1:30 (can be made directly from water bottle) |
Note: Duration and potency vary if you add redstone or glowstone.
Modifiers and Special Types
Extended vs. Enhanced
- Redstone – Add to a finished potion that supports an extended variant to increase its duration. For example, Potion of Fire Resistance becomes 8:00. Cannot be combined with glowstone.
- Glowstone Dust – Add to increase the effect level (e.g., Strength II). Duration becomes shorter (e.g., 1:30). Cannot combine with redstone.
Splash Potions
Add gunpowder to a drinkable potion to make it a splash potion. Throw it to apply the effect to nearby entities. Splash water bottles can extinguish fires. See Minecraft's splash potion guide for usage examples.
Lingering Potions
After turning a potion into a splash potion, add dragon's breath to create a lingering potion. When thrown, it leaves a cloud that applies the effect for a quarter of the normal duration. You can also combine a lingering potion with arrows on a crafting table to create tipped arrows (eight arrows per potion).
Tips and Tricks
- Keep water bottles and the ingredients for your chosen recipe nearby; most recipes begin with nether wart, but Weakness is an exception.
- Brew multiple potions at once by filling all three bottle slots.
- Use potion stands adjacent to a chest for efficiency.
- Healing potions damage undead mobs such as zombies and skeletons, as described in the official splash potion guide linked above.
- Combining redstone and glowstone on the same potion doesn't work – pick one.
- For a quick negative potion, add a fermented spider eye to a water bottle to get Potion of Weakness.
Once you master potions, consider setting up a beacon to apply effects in a larger area – check out our How to Use Beacons in Minecraft: Complete Beacon Guide 2026.
Sources
- The second part was released as official release 1.0.0 on November 18, 2011, adding potions, enchantments, and the new End dimension with an entirely optional final boss. — Adventure Update
- Nether warts are used to make awkward potions, and are the fundamental of the base ingredients, as it is required to make the majority of potions. — Brewing
- The fermented spider eye is unique as it is the only modifier that can convert a water bottle directly into a usable potion. — Brewing
Frequently Asked Questions
How do I make a brewing stand?
Craft it with one blaze rod (from the Nether) and three cobblestone. Place the blaze rod in the center, cobblestone in the bottom row.
What is the most important ingredient for potions?
Nether wart. It turns water bottles into Awkward Potion, the base for almost every positive effect.
How do I make a splash potion?
Add gunpowder to any drinkable potion in a brewing stand. You can also throw splash water bottles to extinguish fires.
What's the difference between redstone and glowstone?
Redstone extends duration without changing strength; glowstone increases potency but shortens duration. You cannot use both on the same potion.
Related guides
How to Find Buried Treasure in Minecraft 2026: Maps & Tips
Master how to find buried treasure in Minecraft with our 2026 guide. Find treasure maps in shipwrecks & ruins, follow the X, and collect rare loot like...
Mob Circling Bug: Causes and Fixes
Troubleshoot the Minecraft mob circling bug. Learn why horses and riders walk in circles, how to fix trident loyalty circling, and diagnostic steps for pathfinding glitches.
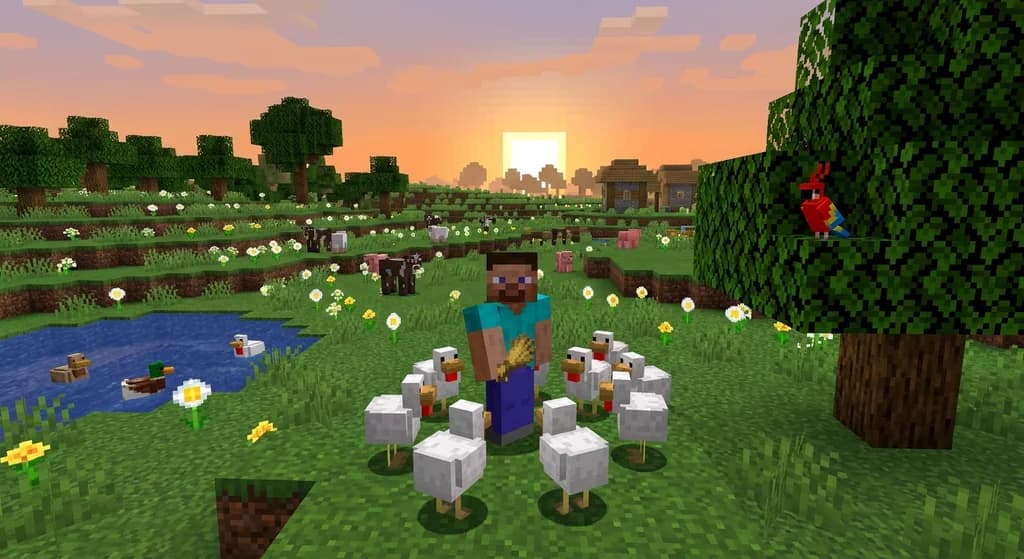
Minecraft Animal Mobs Reference Guide
A quick reference guide to animal mobs in Minecraft. Learn the list of animals, their properties, breeding mechanics, and how they differ from monsters.
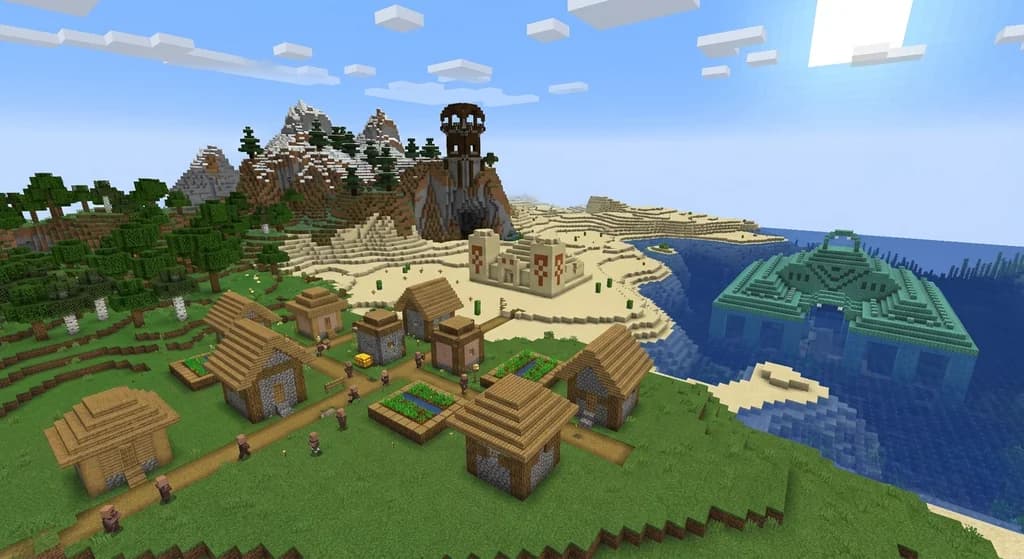
Minecraft Structures: A Reference Guide to Generated Formations
Learn everything about Minecraft generated structures. This quick reference covers structure types, generation mechanics, structure-like features, and how to use /locate in Java and Bedrock Editions.
Have a question or another approach?
Compare notes with other readers. Include your edition and version when discussing mechanics.